
A Step-by-Step Guide to Installing BKR Snow Chains Like a Pro
As winter is unleashing its fury and roads are turning icy, snow chains become your best allies. While they can seem difficult to install, following the right strategy can transform you into a pro. This guide will help you through installing snow chains efficiently and safely, so you will be prepared for any winter adventure. Installing snow chains might seem like a intimidating task, but with a little preparation and practice you can master it, having the right tools and following these steps will not only save your time but also keep you safe during winter. Snow chains provide extra traction in icy or snowy conditions, and ensuring safe driving. They’re particularly important in mountainous regions or areas with heavy snowfall where tires alone can’t get a grip on the road.
Step by step guide to Installing BKR snow chains:
1. Before you head out into snowy terrain, ensure you’re fully prepared - Identify if your car is front-wheel, rear-wheel, or all-wheel drive. Chains are installed on the drive wheels. Purchase chains specifically designed for your tire size. Install your chains in good weather to familiarize yourself with the process. Keep a pair of gloves, a flashlight, and a towel in your car for snowy emergencies. BKR snow chain carbon steel is suitable for different tires types, easy to install and there is no need to retighten once they installed. The product is durable and easy to use, it comes with repair chains and storage bags for transportation and storage.
2. Park in a Safe Spot- Pull over to a flat, safe location, away from traffic. Turn on your hazard lights to alert other drivers. Engage the parking brake to prevent the vehicle from rolling.
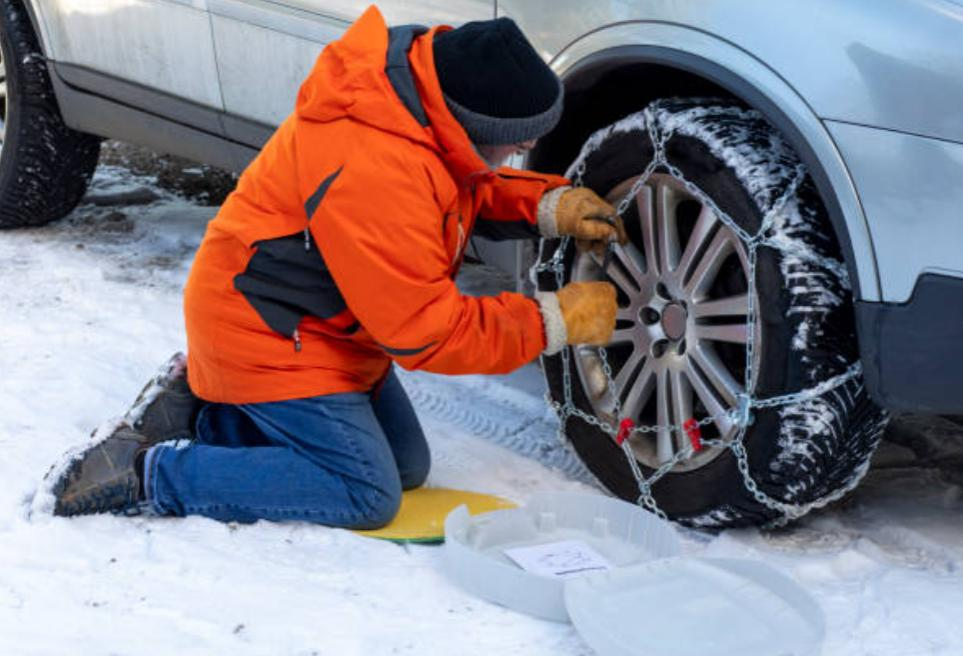
3. Lay Out the Chains- Unroll your snow chains completely and check for tangles or damage. Identify the inner and outer sides of the chains. Generally, the smoother side faces the tire, while hooks or fasteners face outward.
4. Position the Chains- For standard chains drape the chains over the top of the tire, letting them hang down evenly on both sides. For self-tightening chains slide the chains behind the tire and bring the ends together at the top of the wheel. For easier installation, start with the tires turned slightly outward for better access.
5. Secure the Chains- Connect the inner hooks or fasteners first. This step can be tricky, so take your time. Secure the outer hooks and ensure the chains are evenly distributed across the tire. Use built-in or additional tensioners to remove slack. Properly tightened chains prevent damage and ensure a smoother ride.
6. Test the Fitting- Drive forward about 15-20 feet, then stop. Check the chains for proper alignment and tighten the chains if necessary. If the chains feel loose, adjust them immediately to avoid damage to your vehicle or the chains.
Safety tips to follow: Always Keep your vehicle speed below 30 mph to prevent chain breakage. Drive smoothly, avoid sharp turns or abrupt braking. Do not drive on a dry pavement it can damage both the chains and your tires. Once you’ve safely reached your destination remove the chains and rinse off ice and debris to prevent rust. Keep them tangle-free and ready for your next use.


